(BPT) – Consider this — for the same amount of time and energy required to strip, sand and stain a wood deck, you could replace those boards with composite decking and never again have to worry about upkeep. Designed for maximum durability and minimal maintenance, wood-alternative decking, like Trex, is resistant to fading, staining, scratching and mold, and just an occasional soap-and-water cleaning is all it takes to retain a “like-new” appearance for decades.
Resurfacing a deck is a doable DIY project that can be completed in a weekend or two with just a little know-how and the help of a few friends. Simply follow these steps from the experts at Trex Academy to give your old wood deck a makeover with high-performance, hassle-free composite decking.
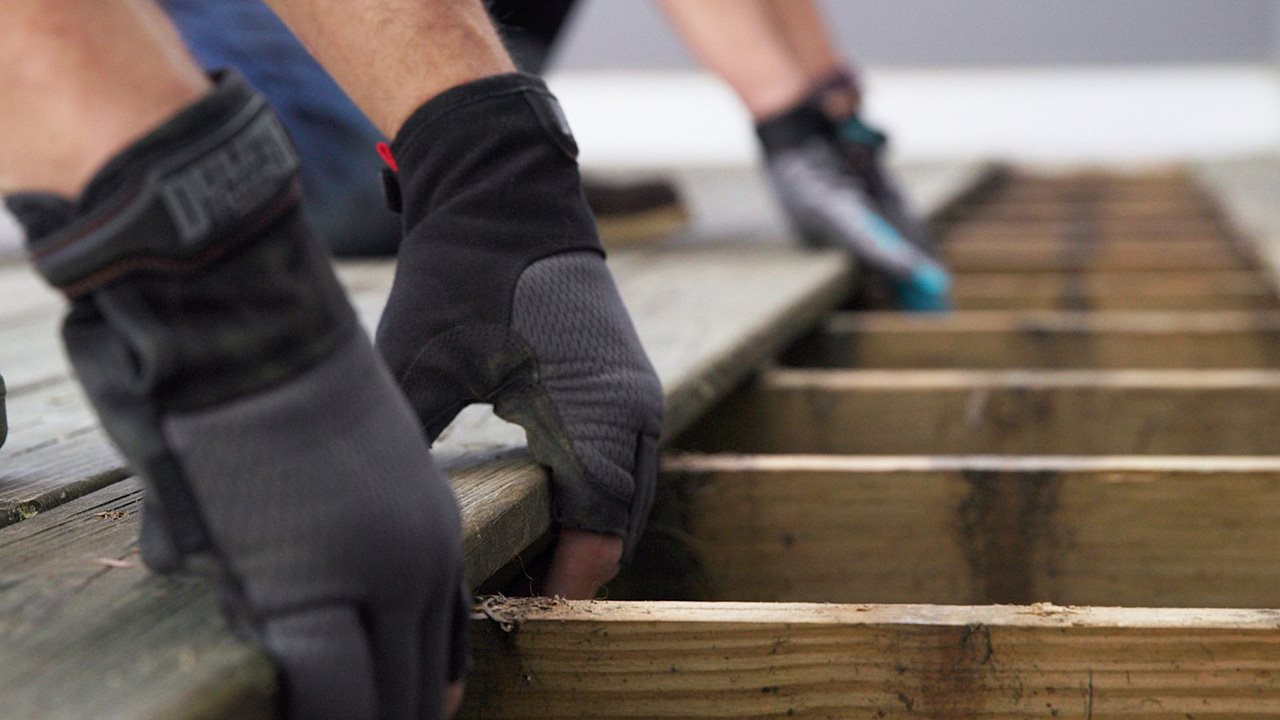
1. Remove old deck boards
Start by removing any railing and prying up the existing deck boards. Leave the substructure and framing in place.
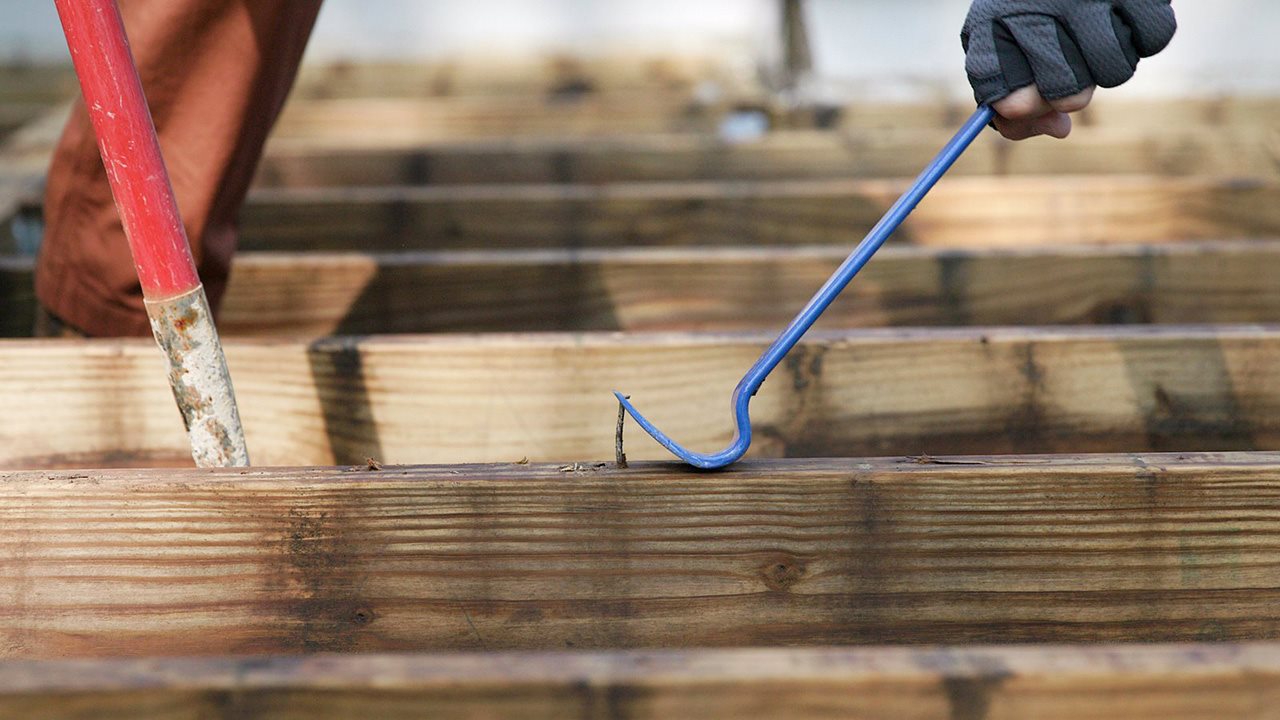
2. Clean the frame
Ensure that all fasteners and hardware have been removed from the top of the deck frame. If nails cannot be removed, bend the tips over so they lie flat on the wood for safety. Remove any debris from the bays between joists to allow air to flow beneath the frame.
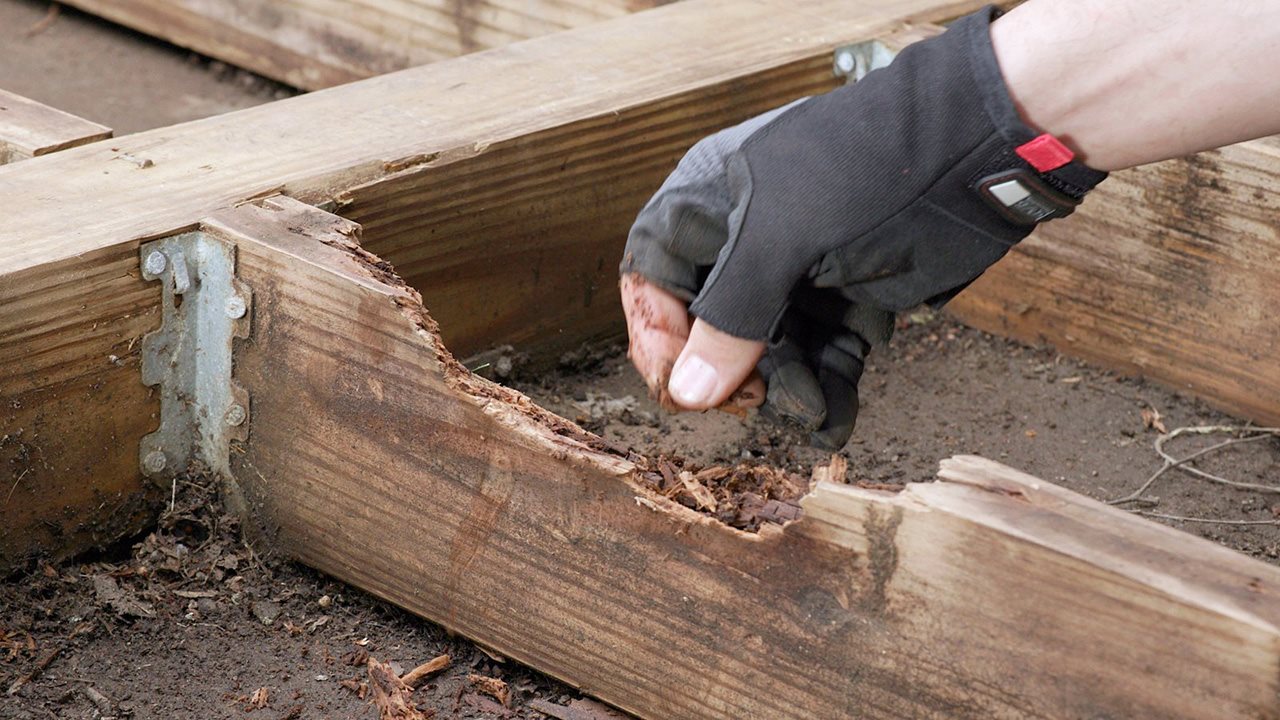
3. Inspect the substructure
Check the beams and joists of the framing to ensure these foundational components are free of rot and decay. Use a flathead screwdriver to probe for soft spots. Repair or replace any decayed or rotting framing before continuing.
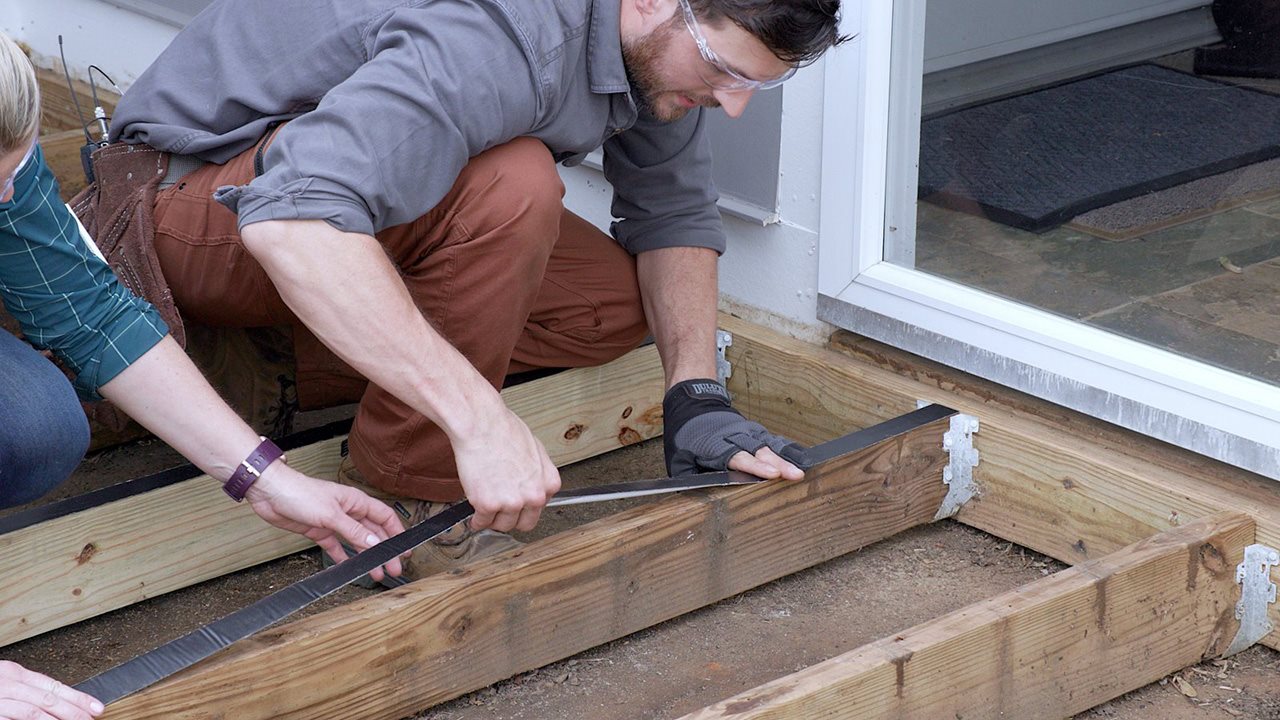
4. Protect joists and beams
For added protection and to extend the life of your deck, apply protective flashing tape, such as Trex Protect to the joists and beams of the substructure. This easy-to-apply, self-adhesive tape helps to safeguard wood and metal fasteners from moisture that can lead to rot, rust and decay.
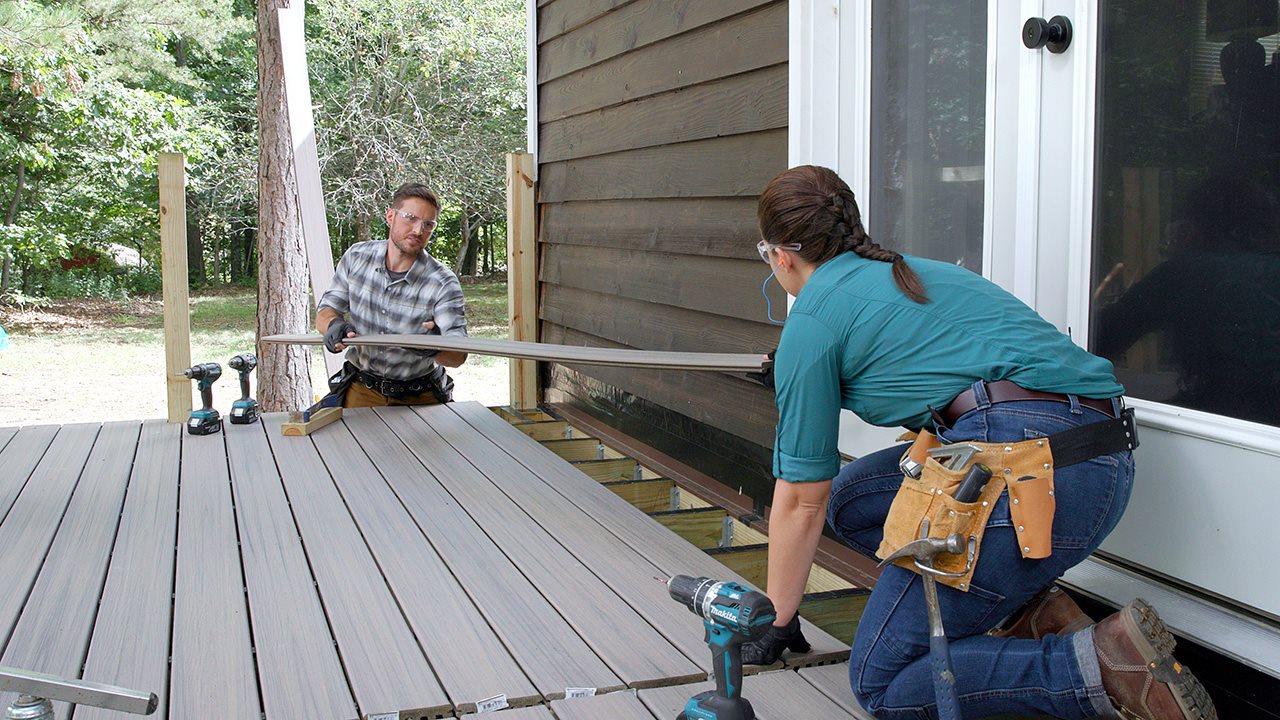
5. Install new deck boards
Begin laying out the new composite deck boards starting with the board farthest away from the home. Be sure to closely follow the manufacturer’s instructions for spacing to ensure proper ventilation.
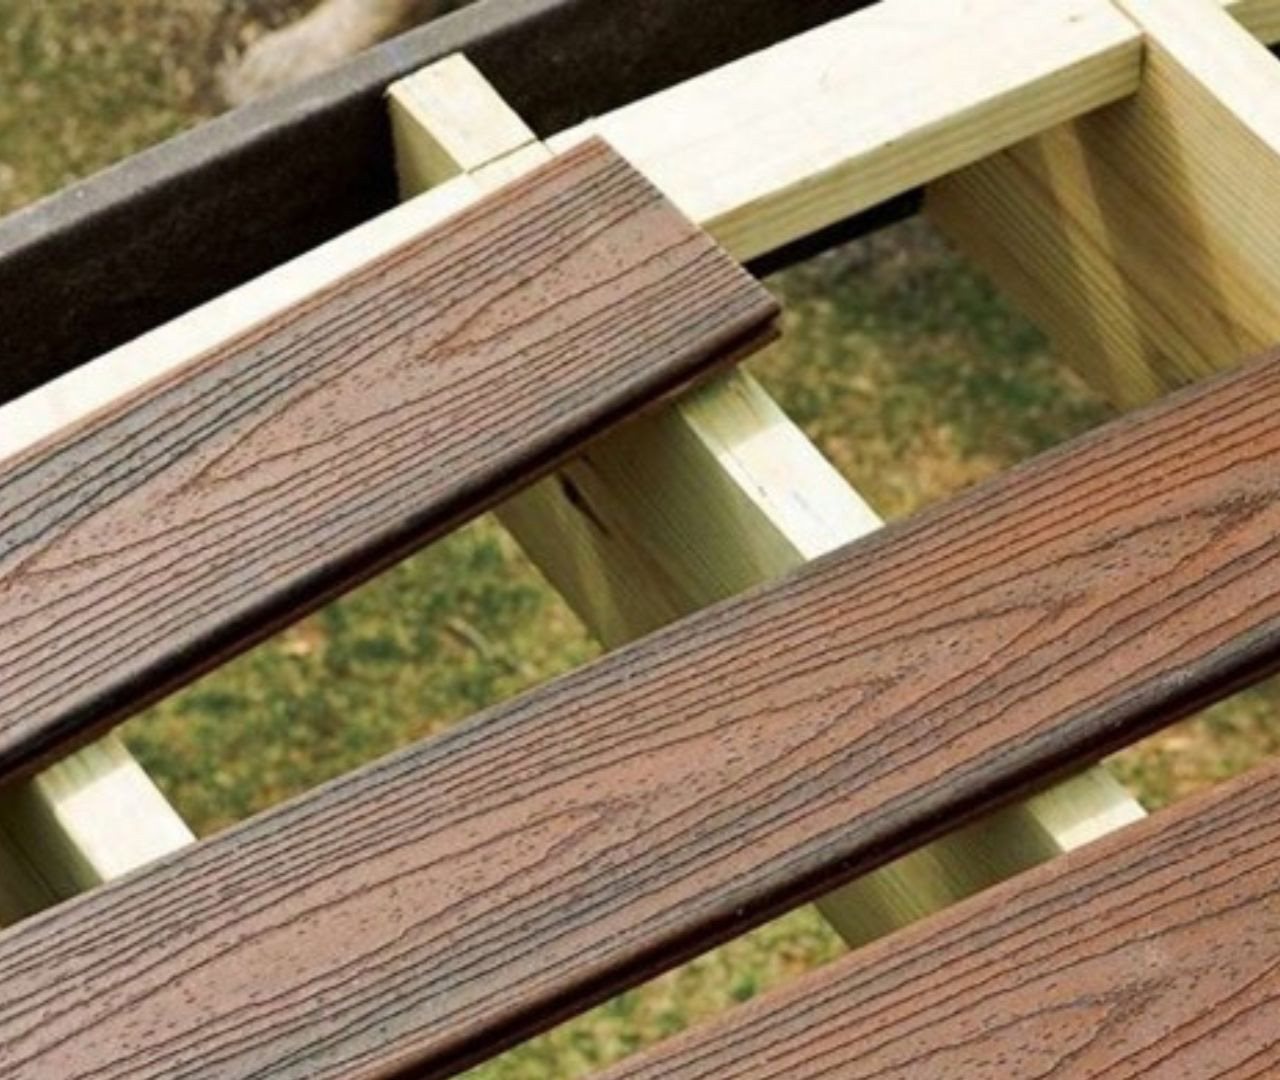
6. Shuffle the deck
Composite decking is designed with random variation in hue from board to board. For the most natural-looking results, shuffle — or mix — the boards to create your desired look. This can be done by laying out several courses of boards and organizing them to your liking before installing.
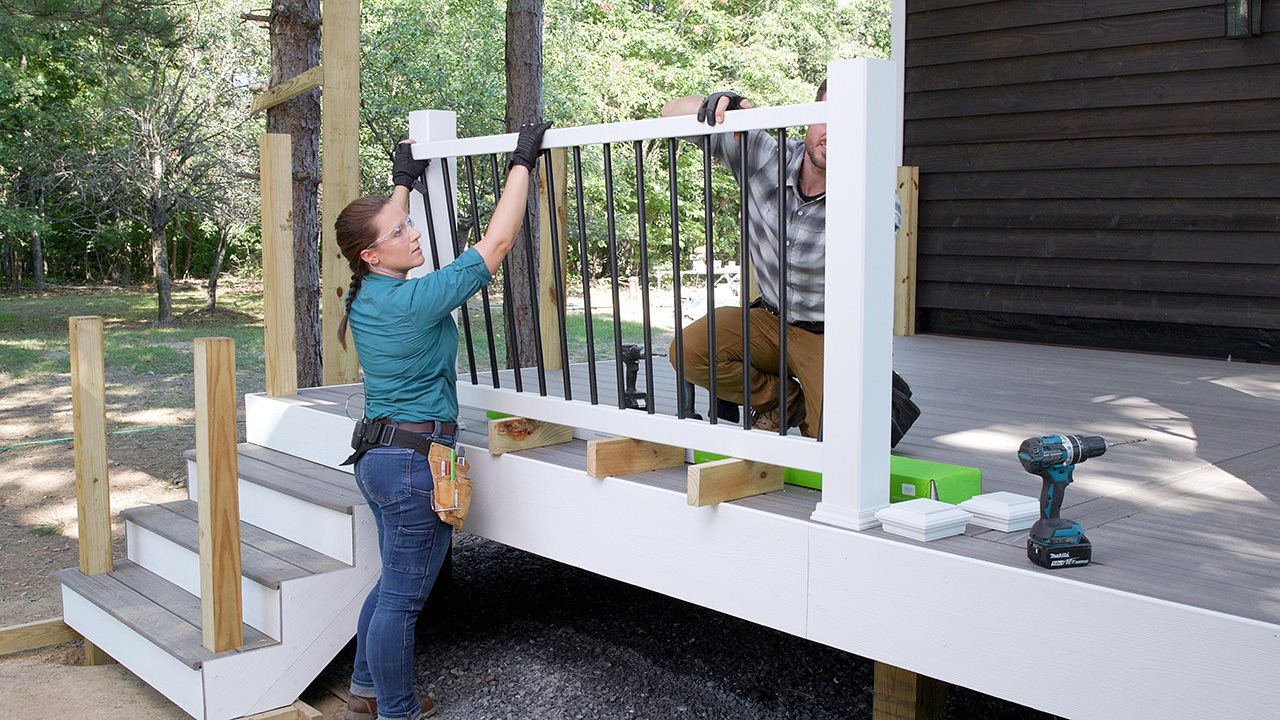
7. Frame and finish
Once the deck boards are in place, use a circular saw to trim any overhang for clean, finished edges. Then re-attach railing components or add new railing paying close attention to the manufacturer’s installation guide and local building codes.
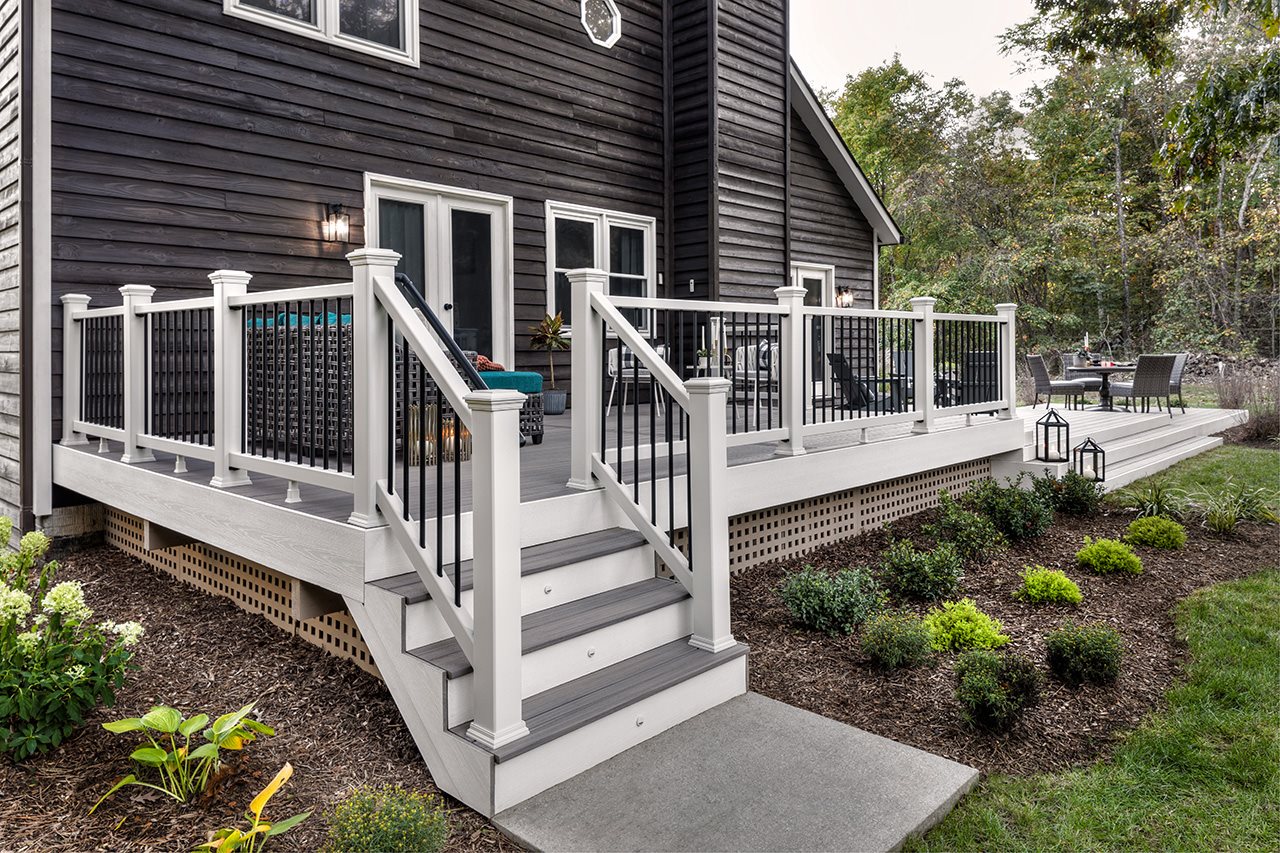
8. Decorate and enjoy!
Add furnishings and decorative elements to finish things off. Then, step back, admire your work and enjoy your new, hassle-free outdoor space.
For more expert advice and resources, including a step-by-step deck resurfacing video, visit the Trex Academy section of Trex.com.